System user guide for dealing with Twilio WhatsApp and Tess Payment Gateway during Sales Process - Request payment via WhatsApp
Tip: Before start creating a sales invoice, let's mention some notes about dealing with Twilio WhatsApp and Tess payment gateway during the sales process.
1. Automatic Payment Request Generation:
-
When a sales invoice or sales order is submitted, the system checks if the customer's payment gateway is of the Tess type.
-
If automatic payment request generation is enabled in the customer’s Tess payment gateway settings and the amount falls within the configured range:
-
A payment request with Tess as the mode of payment is automatically generated.
-
All relevant values are fetched from the sales invoice/sales order.
-
2. Payment Entry Creation:
-
For each submitted payment request:
-
A draft payment entry is automatically created.
-
Multiple payment entries might be created based on payment terms and schedule.
-
A WhatsApp messages are sent to the customer requesting payment.
-
3. WhatsApp Notification:
-
If no payment terms template is defined:
-
A WhatsApp message is sent to the customer containing payment information and a payment button for the full amount.
-
A draft payment entry for the full amount exists in the system.
-
-
If a payment terms template is defined:
-
A WhatsApp messages are sent to the customer containing payment information and payment button for each portion as per the template and payment button for the full amount.
-
Draft payment entry exists for each portion and for the full amount.
-
4. Payment Process:
-
Upon clicking the payment button by customer:
-
Customer is redirected to a payment checkout page.
-
If payment is successful, a corresponding draft payment entry is submitted.
-
If payment fails, details are stored as comments in the draft payment entry.
-
When customer pays the full amount, the status of the sales invoice and the payment request will become Paid.
-
Tip: In this guide, we will go with the creation of Sales invoice to explain the process, but similar functionalities apply to sales orders as with sales invoices.
Creating Sales invoice with automatic Payment request generation
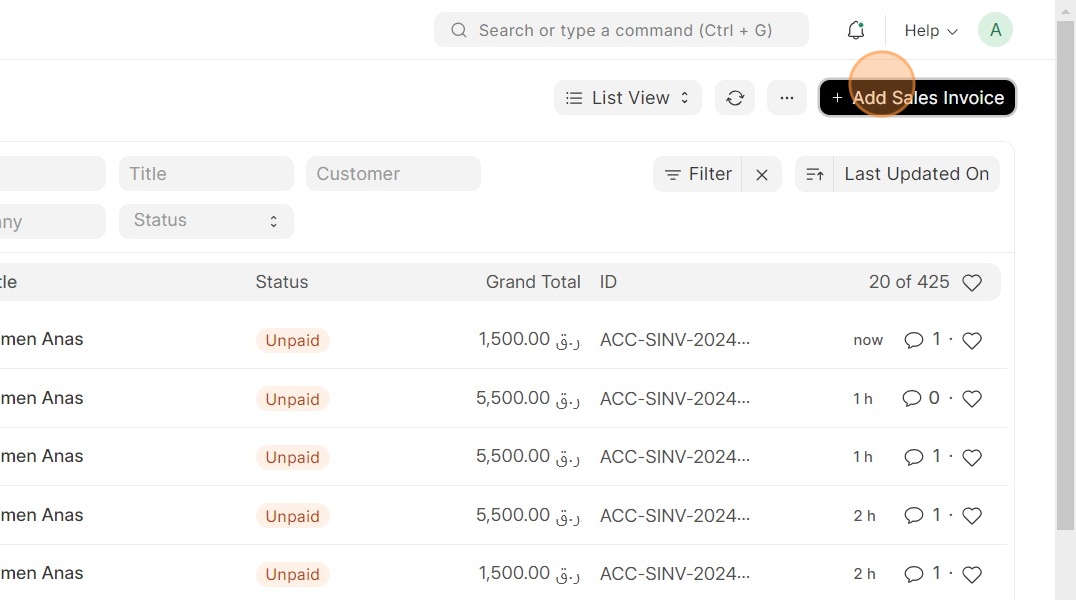
1. Navigate to Sales Invoice or Sales Order

2. Click on Add Sales Invoice

3. Select a Customer and fill the other values

4. Continue filling values ...

5. When finish filling all Sales Invoice information, click on Save

6. The status of the sales invoice is [[Draft]] for now and it's waiting to be [[submitted]]. See that the customer is Anas Yamen

7. From the customer profile, see that the payment gateway is the Tess payment gateway that was created for WhatsApp communication

8. From the payment gateway settings, see that the Auto Generate Payment Request (For Sales Invoice) is checked and note the amount range configured

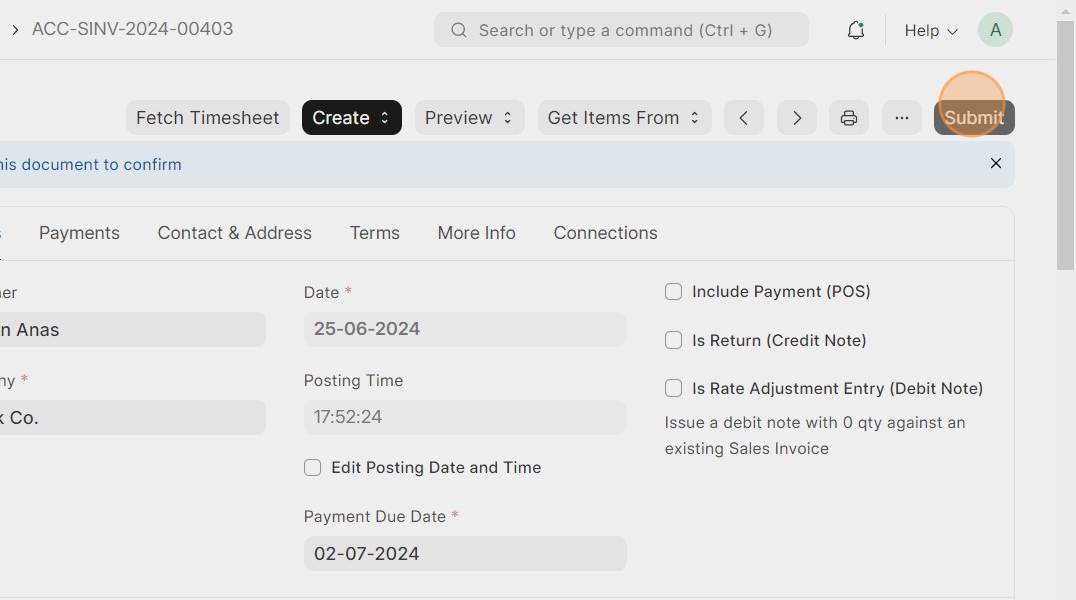
9. From our sales invoice, see that amount falls within the configured range, so, a payment request will auto generated upon submitting this sales invoice

10. Click on Submit
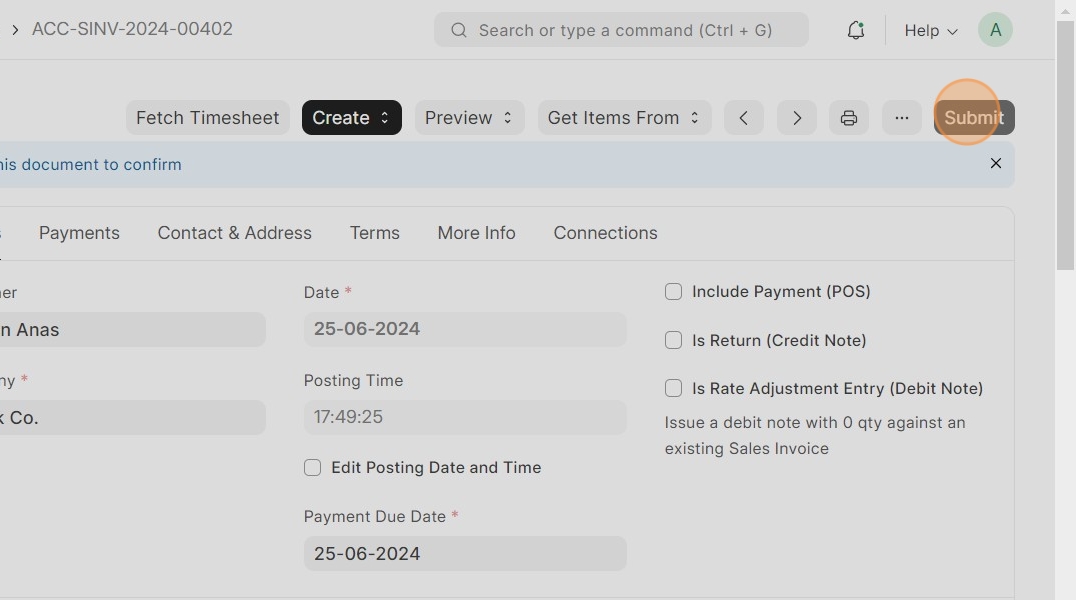
11. Click Yes

12. Click on Connections tab

13. See that the system auto created payment request and payment entry for this sales invoice

14. Click on Payment Request

15. Note the Payment Request

16. Note the Payment Entry

17. You can also see the WhatsApp messages sent to the customer at the bottom of the sales invoice

Tip: All WhatsApp messages will be stored also in the contact page of the customer, so you can find them there as well.
18. The Payment button is clickable and represents the button the customer will click to make a payment

Creating Sales invoice with Payment terms configured
19. Navigate to Sales Invoice

20. Click on Add Sales Invoice
21. Select a Customer and fill the other values

22. Continue filling values ...

23. Note that the quantity is 100, so, the amount is 100*100 = 10,000 QAR, which is out of the amount range configured in the payment gateway settings, so, the payment request will not auto generated and we have to create it manually for this sales invoice.
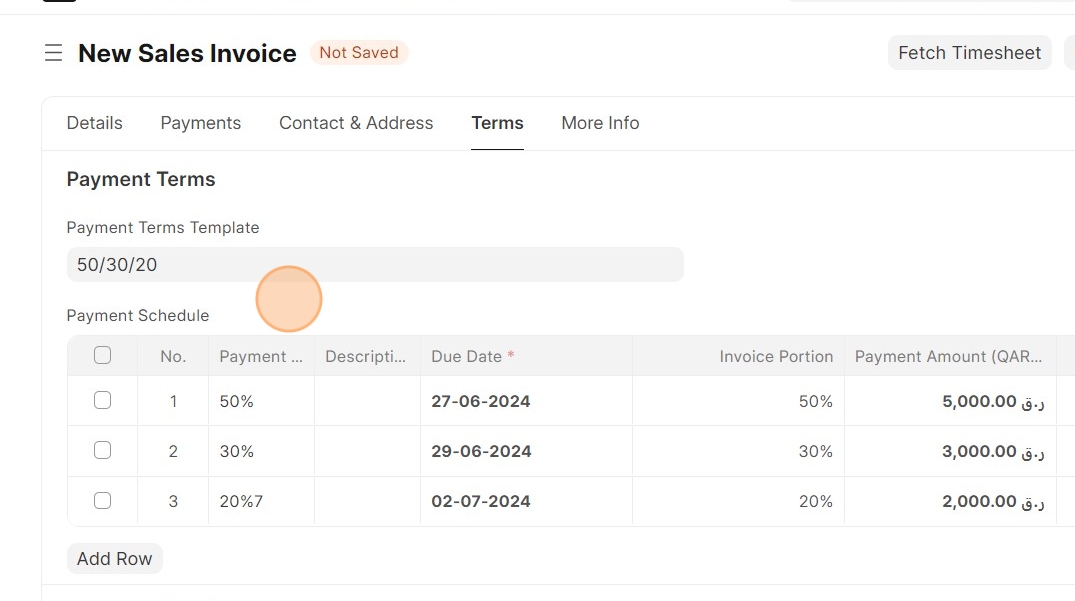
To add payment terms, click on Terms tab

Tip: Note: When creating Payment Term template, please make sure that it doesn't have multiple payment term records with the same name, each payment term's name should be unique inside the Payment Term Template.
24. You can select a Payment Term Template or add the payment schedule manually in the table

25.
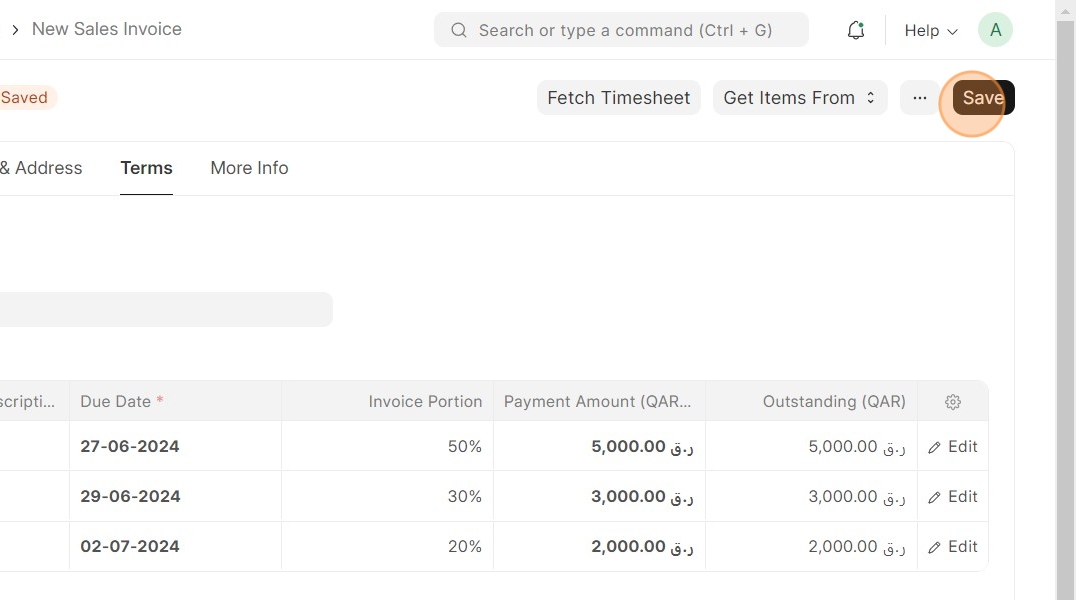
26. When finish filling all Sales Invoice information, click on Save
27. Click on Submit
28. Click Yes

29. From Connections tab

30. See that no Payment request created, because the amount of this sales invoice is out of the amount range configured in the payment gateway settings

31. So, you have to create the payment request manually using Create button at the top in the sales invoice, then Click on Payment Request

32. Select Mode of Payment to be [[Tess]]

33. Select the Tess Payment gateway account which was created for WhatsApp communication and enter the WhatsApp contact number for this customer to send payment request messages to

34. Then click on Save

35. Click on Submit

36. Click Yes

37. Note the payment request and the 4 payment entries created. (3 payment entries for the 3 amount portions as per the payment terms template, and 1 for the full amount)

38.

39.

Tip: - After customer receives the payment request WhatsApp messages, when they click on a payment button and do a successful payment, the corresponding draft payment entry is submitted.
- When the full amount is paid by the customer, the status of the sales invoice and payment request becomes Paid in the system, and the status of the paid payment entries is Submitted.
- As a system user, you can cancel a submitted (paid) payment entries, and the amount is returned to the payer's account via Tess payment gateway.
- If payment fails, details are stored as comments in the corresponding draft payment entry in the system.
Successful Payments by Customer for Sales invoice
40. After the customer pays the full amount, the status of the sales invoice will become Paid

41. Click on Connections tab, to check the payment request of this sales invoice

42. Click on Payment Request

43. The status of the payment request now is Paid as well

44.

45. Click on Payment Entry

46. For each successful payment, the corresponding draft payment entry is submitted.

Cancelling Payment entry
47. Go to the payment entry you want to cancel

48. Click on Cancel

49. Click Yes

Tip: If cancellation fails or the amount cannot be returned to the customer for any reason, the system will display an appropriate message informing you about that
50. A message will appear shows that the payment entry cancelled successfully, and the amount will be returned to the payer's account via Tess payment gateway

51. After cancelling the payment entry, the status of the sales invoice will become Unpaid if you cancelled the full amount, and Partly Paid if you cancelled only a portion of the full amount

Failed Payment logs
52. When payment fails, you can see logs in the corresponding payment entry

53. Details of the failed payments are stored as comments at the bottom of the payment entry.

Track sent and received WhatsApp messages
Tip: You can track and see all sent and received WhatsApp messages in two places:
- In WhatsApp Message Doctype, to see all WhatsApp messages related to all contacts in the system.
- In the page of a specific contact, to see all WhatsApp messages sent to or received from this contact.
For received messages, you have the ability to reply to the message within only 24 hours.
Tip: Let's take a look on WhatsApp Message Doctype to see all WhatsApp messages related to all contacts.
Assume that we just sent a WhatsApp payment request to one of our customers contains one payment button for the full amount
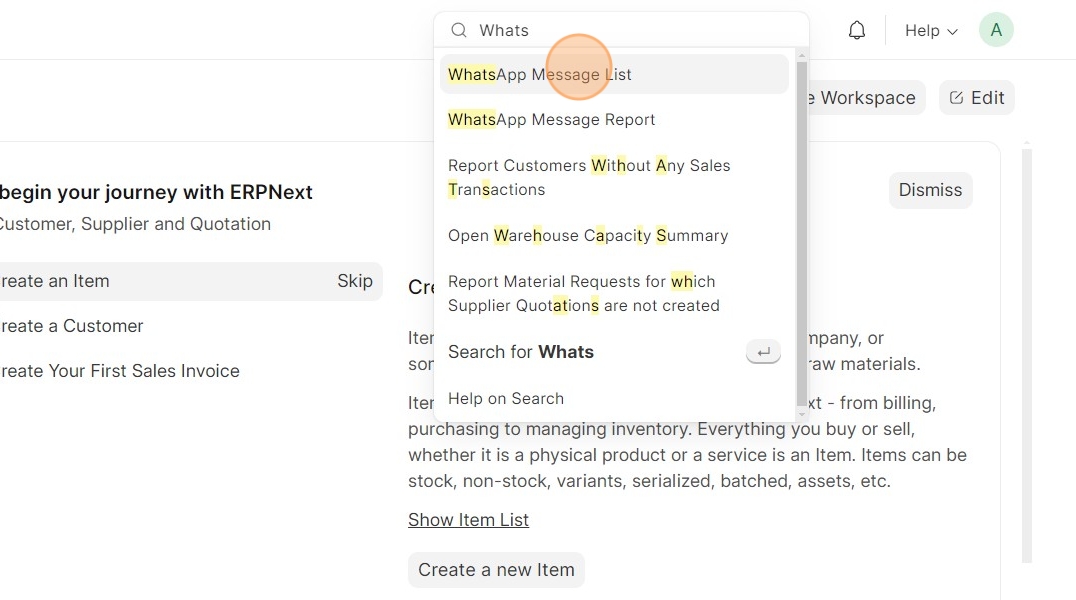
54. using the search bar, go to WhatsApp Message List
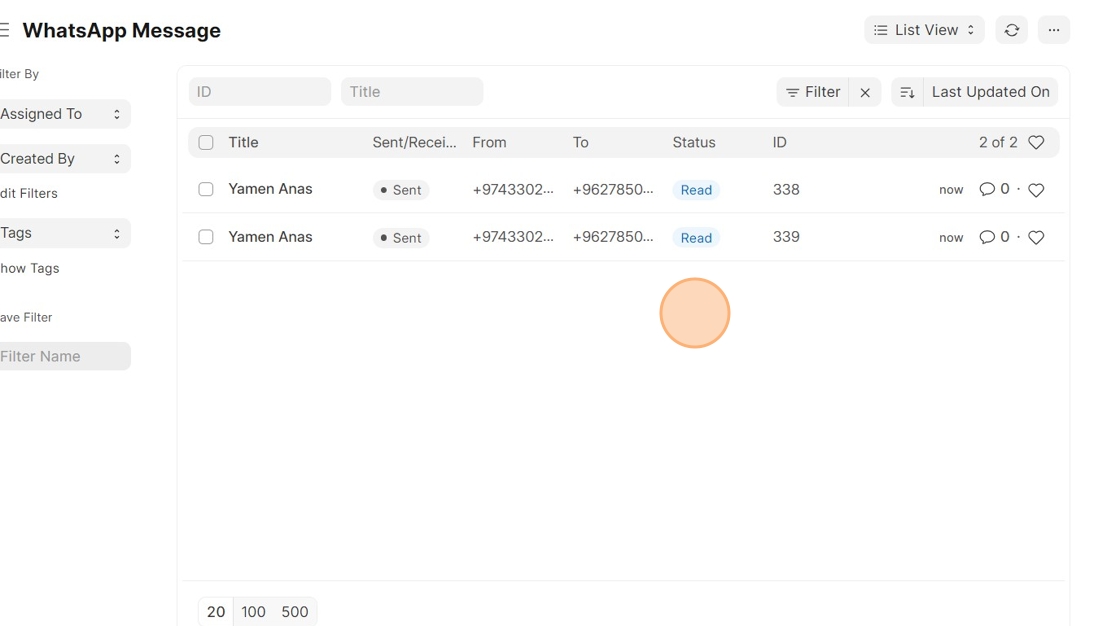
55. You will see that two WhatsApp messages sent to the customer, click on the first message sent

56. Here are all information about this message includes the message text

57. If the WhatsApp message contains a payment button, you will find the payment button also stored as a link inside Media Link field

58. Additionally, you will find more information including the Reference Document Name for which this message sent

59. Click on the second message

60. Then you can see it's content

61. As you can see in this image, the customer has received and read the messages, and the status of the messages has been updated accordingly in the system
62. As you see in this image, it looks like we received a message from the customer (see the Received status), click on it see it's content

63.

64. More details including the Profile Name, which is the sender name registered in WhatsApp

65. You can reply to the received message by click on Reply button

66. Enter reply message

67. Click Send

68. Reply will be stored in WhatsApp Message Doctype

Tip: As mentioned before, you can view the entire WhatsApp chat with a specific contact on the contact page itself
69. Go to Customer List

70. select the customer you want to see the entire chat with

71. Click Contact & Address tab

72. This is the contact linked with him, click on it

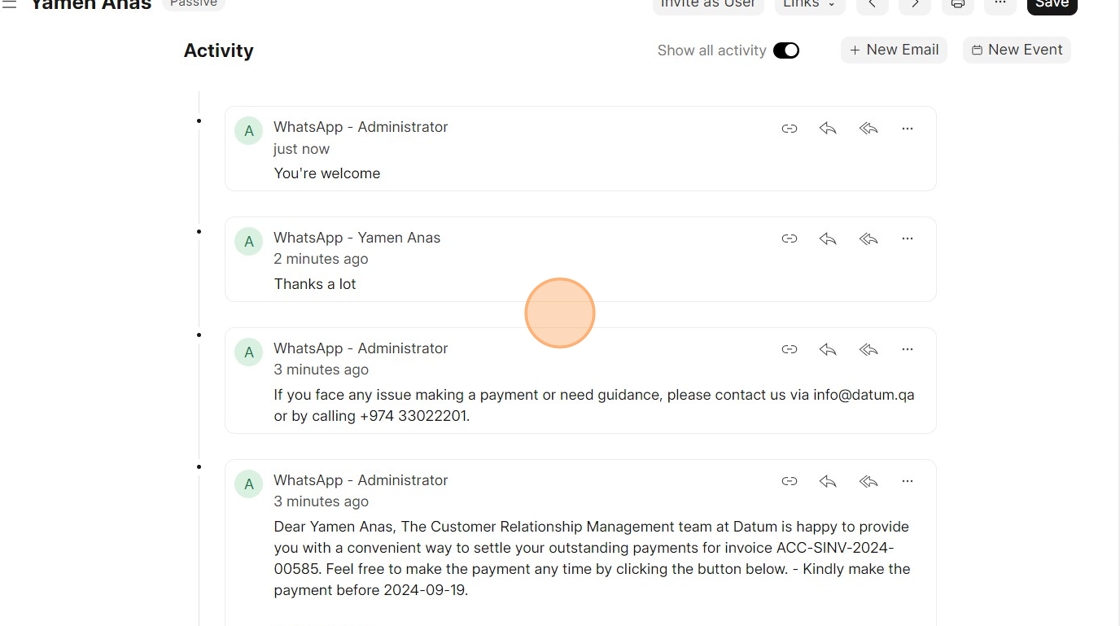
73. At the bottom of the contact page, you can see the chat and all WhatsApp messages sent and received with this contact
Tip: Note: Whenever you receive a WhatsApp message from a party that is not registered as a contact in the system, a new contact will be created automatically using their WhatsApp profile name