Bank Salary Processing File (SIF) Generation Guide
This guide provides a comprehensive walkthrough for configuring the employee information needed in SIF files, creating employee and company bank accounts, and the process of generating SIF files for salary payouts.
Configure Employees QID
1. Login to ERP system, then using the search bar go to Employee List

2. For all employees in your company, QID details must be configured. To configure it click on each employee ..

3. Under the Personal tab, see QID Details section, fill QID Number and Expiry Date values

4. Click Save

Create Employee Bank Account
5. Using the search bar, go to Bank Account List

6. If the employee's bank account already exists, click on it to edit. Otherwise, click on Add Bank Account

7. Fill the bank Account Name and select the Bank ..

8. Set the Party Type to Employee and choose the employee from the Party field
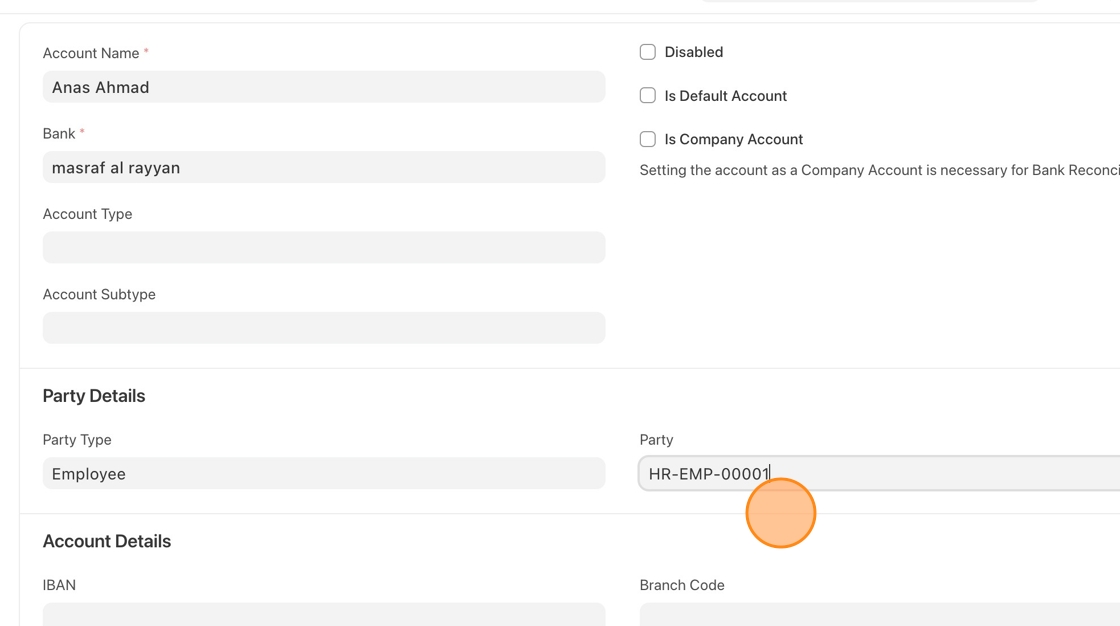
9. Enter the employee's bank account IBAN

10. Enter the Bank/Branch Code

11. When finish, click on Save

Create Company Bank Account
Tip: For each employee account in a specific bank, there must be a corresponding company account in the same bank and with the same Bank/Branch Code.
12. Go back to the Bank Account List

13. If the company's bank account already exists, click on it to edit. Otherwise, click on Add Bank Account

14. Fill the bank Account Name

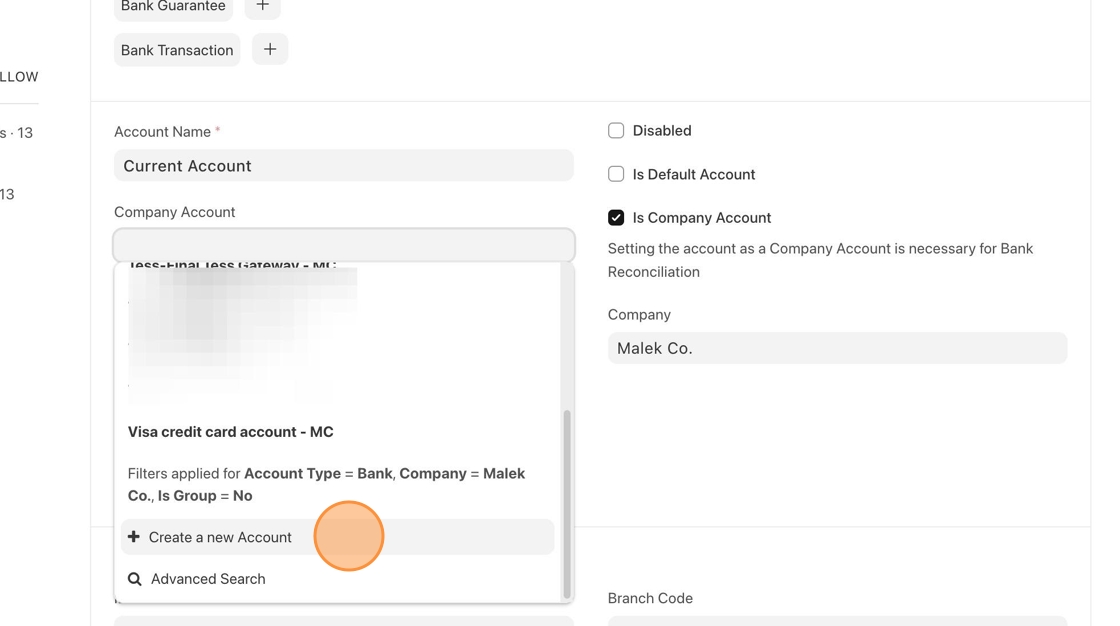
15. Check Is Company Account field

16. A field called Company Account will be displayed, select an account or create a new one by click on Create a new Account
17. When clicking on Create a new Account, this page will appear to fill the account information, enter the Account Name ..

18. For the Parent Account field, select Bank Accounts ..

19. For the Account Type field, select Bank

20. Click Save

21. After selecting the Company Account, select the Bank

22. Enter the company's bank account IBAN

23. Enter the Bank/Branch Code

24. Check Is Salary Payment Account field

25. Enter the Employer EID (Company Registration Card Number. It can contain 7 or 8 digits)

26. When ficish, Click Save

27. Now, you have the company bank account created and enabled.

Generate SIF File
28. Whenever you need to generate the SIF file, go to the home page by clicking on this icon ..

29. From the left side bar, click on Salary Payout

30. Click on Salary Register

31. The report view will appear, fill in the filter values as needed to display the salary slips for which you want to generate a SIF file

32. For example, Let's select a period to display salaries for the current month

33. Ensure that the status of the filtered salaries is Submitted

34. Here are the employees' salaries for this month. Now, click on the Generate SIF File button

35. A message will appear confirming that the SIF file has been created successfully

36. Click on File Manager to see the file ..

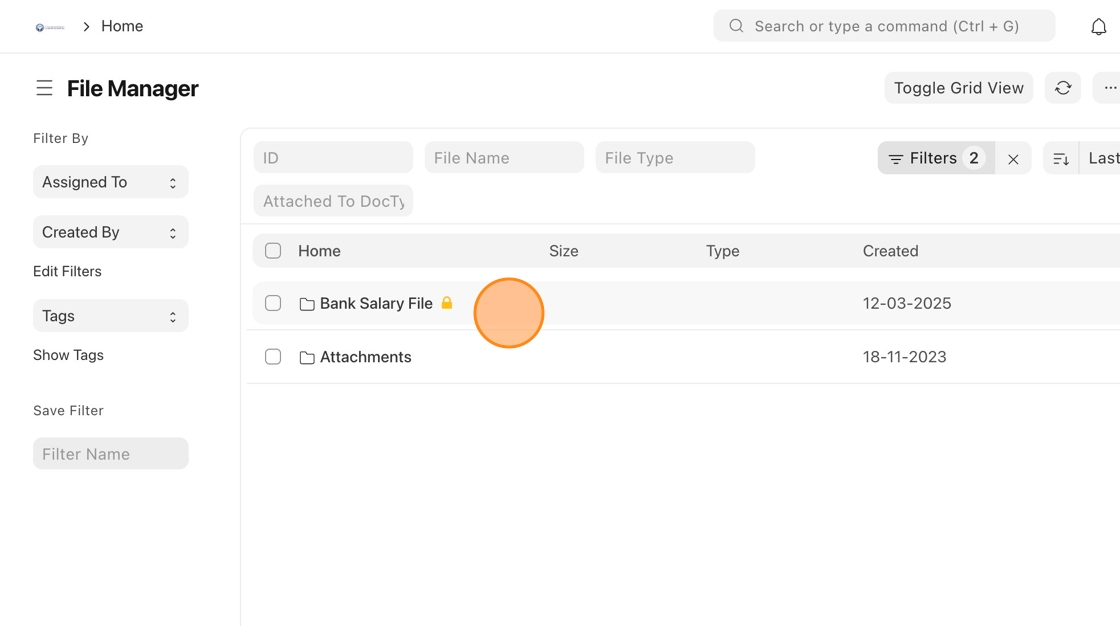
37. All SIF files will be stored inside Bank Salary File, so click on it ..
38. Each bank will have its own folder inside the Bank Salary File folder, and the SIF files will be stored in their corresponding bank folder

39. Here is the SIF file created for this month's salaries, click on it ..

40. You have the option to download it by clicking on Download button ..

41. Or you can send it as Email by clicking on New Email button ..

42.

43. To attach this file to the email, click on Add Attachment ..

44. Click on Library ..

45. Locate the file within the Bank Salary File folder

46.

47. Select the file ..

48. Click Upload

49. Here is the SIF file attached.

50. When finish preparing the email, click Send

Tip: If the employees' bank account are in different banks, multiple SIF files will be generated (one SIF file for each bank).
Let's look at this case:
51. Fill the filters as needed.
In this example, we have the salaries for the month of March listed. Two employees have a QIB bank account, and one employee has a Masraf AlRayyan bank account.

52. Click Generate SIF File

53. Note that 2 SIF files has been created, one for each bank

54. Click on File Manager to see the files

55. Click on Bank Salary File Folder

56. See the folders, each bank folder stores the related SIF files

Tip: If you want to generate SIF files for multiple months instead of just one month for any reason, each month's salaries will have its own SIF file. So, multiple SIF files will be generated, with each one corresponding to a specific month and separated by banks.
Let's look at this case:
57. Fill the filters as needed. Note that the date From - To covers multiple months

58. Click Generate SIF File button

59. See that multiple SIF files are created (in this case, 5).
Note: These salary slips are for demo purposes only, and we haven't created salary slips for each month within the selected period for the employees.

60. Click File Manager to see the files ..

61. You can find the SIF files stored inside bank Folders.
