Set Up Configurations for Twilio WhatsApp and Tess Payment Gateway
This guide is intended for personnel responsible for configuring and maintaining the Twilio WhatsApp and Tess payment gateway within ERPNext system
Configuring Twilio Settings
1. Using the search bar, navigate to OUN Twilio Settings DocType

Tip: You can find your Account SID and Auth Token in your Twilio account using this link
2. Get Account SID and Auth Token from your Twilio account, and paste them here in OUN Twilio Settings

3.

Tip: WhatsApp number should be in full international format includes a plus sign (+), then country code, and local phone number, without spaces. Ex: +97471905638
4. Write your WhatsApp business number registered in your Twilio account, to be used to send all WhatsApp messages outgoing from ERPNext system.

5. Enter the WhatsApp message that will be automatically sent when someone messages you. [[(optional field)]]

Tip: The default value for the Auto-Reply Trigger Interval (hours) field is 24.
6. For the Auto-Reply Trigger Interval (hours) field, enter the number of hours that must pass since the last message was received from a WhatsApp number before the system will send the automatic reply again. [[(optional field)]]
- For example, if the Auto-Reply Trigger Interval (hours) is set to 2, the system will send the automatic Reply Message the first time a message is received from a WhatsApp number. If another message is received from the same number within 2 hours, the system will not resend the Reply Message, as it doesn't make sense to send the same reply multiple times during an ongoing conversation. However, after 2 hours have passed since the last message received, the system will send the Reply Message again when a new message is received.

7. Check Enable for Tess Payment Gateway checkbox

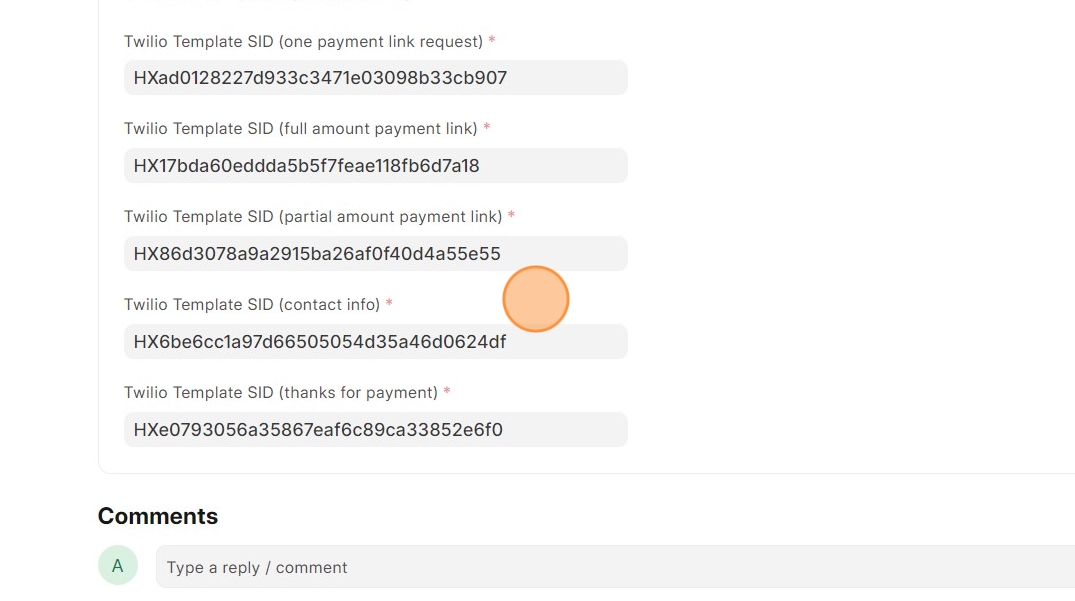
Tip: In your Twilio account you will find that we have created 5 message templates for you with the same names of field names in Tess Payment Gateway Messages Templates section here, each one is for a certain type of messages used when sending a payment request message for customer.
- You can find these templates in your Twilio account using this link.
- Feel free to edit the text message of any template, but please keep the variables used inside the template and it's order as it.
8. These are the 5 fields for WhatsApp message template SIDs, copy the SID for each template and paste it here in the corresponding field.
9. Don't forget to enable OUN Twilio Settings by check the Enabled checkbox

10. Click Save

Creating and Configuring new Tess Settings for WhatsApp communication
11. Navigate to Tess Settings DocType

12. Click Add Tess Settings

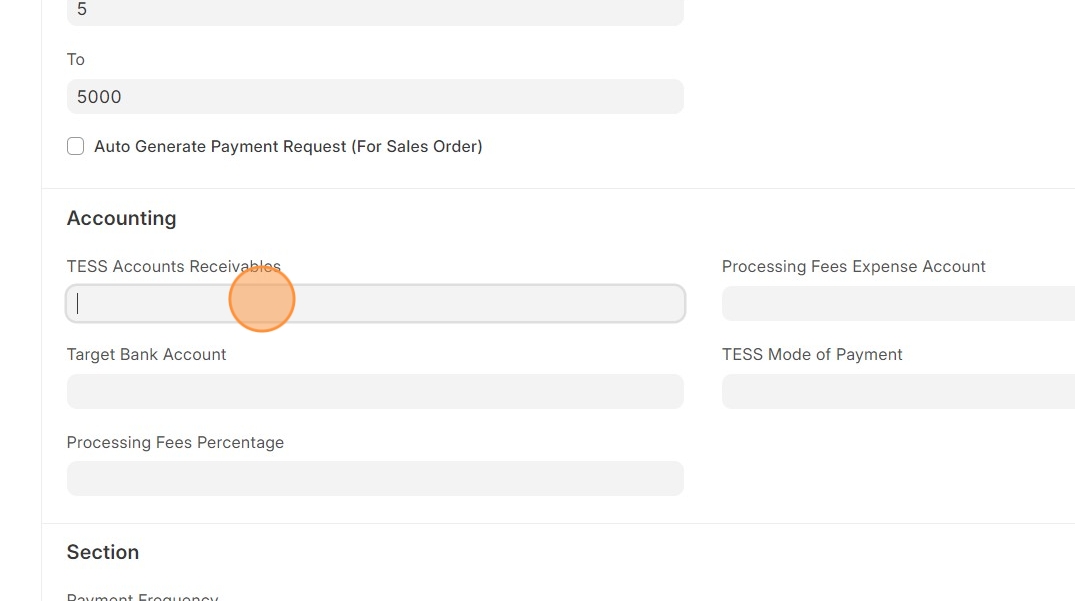
13. Enter Tess Payment Gateway Name, Merchant Key and password, then start configuring and filling fields with the appropriate values

14. Continue configuring values ...

15. Continue configuring values ...
Tip: When saving Tess settings, system will check that the entered Tess credentials are correct, if not, system will show a message noting which value is incorrect
16. When finish, Click Save

Tip: If you've previously used Tess Payment Gateway to send Payment Requests via email, then you are already done with this next step and can skip it and move on to the next one.
Create new account in COA to deal with all Tess type transactions
17. Navigate to Chart of Accounts, and add the account as a [[receivable]] account

18. Fill account information

19. Select Account Type as [[Receivable]], and continue entering values

20. Click Create New

Configure the Payment gateway Account for the new Tess Settings
21. Navigate to Payment Gateway Account List

22. See the payment gateway account that contains the name of the newly created Tess Settings, then click on it

23. See Payment Account field, delete the old value, and select the account that you created in CAO for Tess

24. Set Payment Channel to [[Phone]]

25. Click Save

Delete the account from COA for the newly created Tess Settings, which created automatically when you created the new Tess Settings
26. Navigate to Chart of Accounts, and find the Tess account that contains the name of the newly created Tess Settings, then click on it. (The image below is for COA as a list view, you can view the COA as a List or as a Tree)

27. From the Menu, see the Delete button

28. Click Delete

29. Click Yes

Create "Tess" Mode of Payment
30. Navigate to Mode of Payment List

31. Click Add Mode of Payment button, then start filling values

32. Click on Add Row button to add Account

33. For the Default Account field, select the new account that we created in COA for Tess
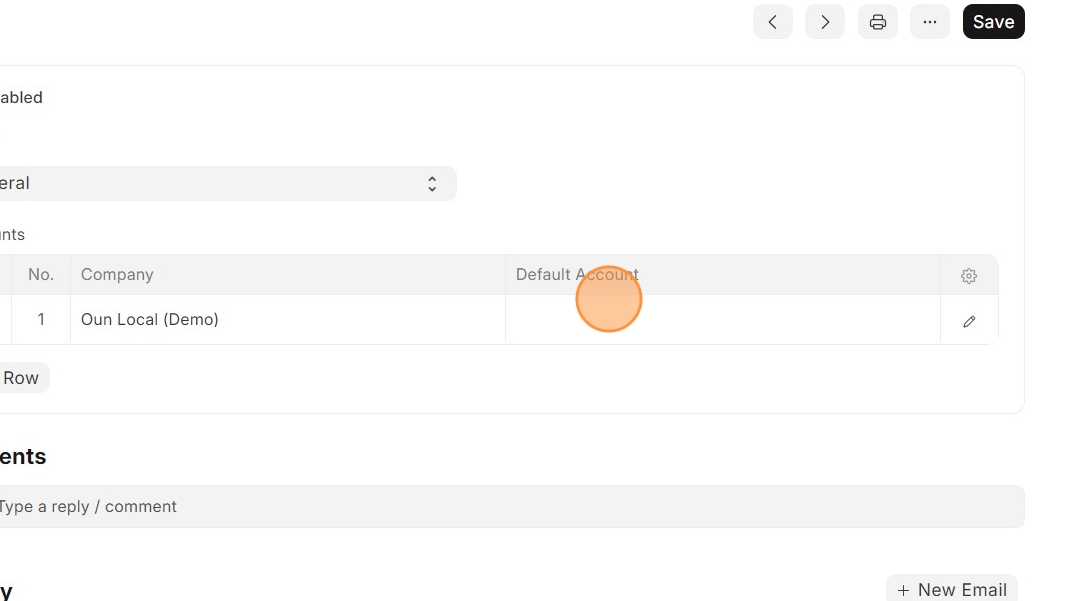
34. Click Save

Configure Customer profile
Tip: In this step, we primarily need to confirm two things for the customer:
- Customer contact information
- Customer payment gateway
You can add any other relevant information as needed.
35. Navigate to Cutomer List, then click on a customer you want to enable sending payment request via WhatsApp for him

36. Note Payment Gateway field. From this field you can select the payment gateway that you created for WhatsApp communication, as a payment gateway for this customer

37. Click Contact & Address tab

38. Click New Contact

39. Fill contact information

40. Enter Email ID

41. Check Is Primary checkbox for this Email ID

Tip: Note:
- WhatsApp number should be in full international format includes a plus sign (+), then country code, and local phone number, without spaces. Ex: +97471905638
- WhatsApp number should be selected as Primary Mobile
42. Enter WhatsApp number for this contact

43. Check Is Primary Mobile checkbox

44. Click Save to save the Contact information

45. Then, from the Customer profile, see Customer Primary Contact field and select the contact that you just created

46.

47. Note that the Mobile No and Email Id fields are automatically filled with the values you have configured

48. Click Save to save the Customer information

Tip: Congratulations !
Configurations are done, and the system is ready now to start the process with Sales Invoice or Sales Order