ClefinCode WhatsApp Admin Guide
This guide provides step-by-step instructions for configuring and using ClefinCode's WhatsApp integration within ERPNext. Learn how to set up WhatsApp Business API credentials, create WhatsApp Profiles and configure Chat Settings. Follow these instructions to enable your team to communicate with other internal users, customers and suppliers through WhatsApp while managing all conversations directly within your ERPNext system.
Configure ClefinCode WhatsApp Integration
1. Navigate to your ERPNext system home page.

2. Click the search bar to navigate to the WhatsApp integration settings

3. Type ClefinCode WhatsApp Integration into the search bar and select it from the results.

4. Enter the Access Token provided by your WhatsApp Business API provider.

5. Enter your unique Webhook Verify Token. This token is used to secure your webhook endpoint and must also be configured in your WhatsApp Business API provider's settings.

6. Click the Save button to save the ClefinCode WhatsApp Integration settings.

Configure ClefinCode WhatsApp Profile
7. Click the search bar again and Type ClefinCode WhatsApp Profile List then select it from the results.

8. Click the Add ClefinCode WhatsApp Profile button to create a new profile.

9. Enter the WhatsApp Number for this profile. This should be the WhatsApp number without including "00" or "+". Start directly with the country code and the number (e.g., 1XXXXXXXXXX).

Tip: ## WhatsApp Profile Types
Clefincode Chat supports two types of WhatsApp profiles:
- Personal Profile
A personal WhatsApp profile opens a direct communication channel between the sender and the receiver when receiving a message from the sender. This is ideal for one-on-one customer support or personalized communications.
- Support Profile
A support WhatsApp profile opens a group channel between the sender and receiver, allowing administrators to add or remove other members from the channel. This is ideal for team-based support scenarios where multiple team members may need to assist a customer.
10. Select the Type of WhatsApp profile. For example, choose "Support" if this profile is for customer support communications.

11. Enter the Phone Number ID associated with your WhatsApp Business Account. This ID is provided by your WhatsApp Business API provider.

12. Enter the Business Account ID associated with your WhatsApp Business Account. This ID is also provided by your WhatsApp Business API provider.

13. Select the appropriate Role from the dropdown list that should receive messages for this WhatsApp profile

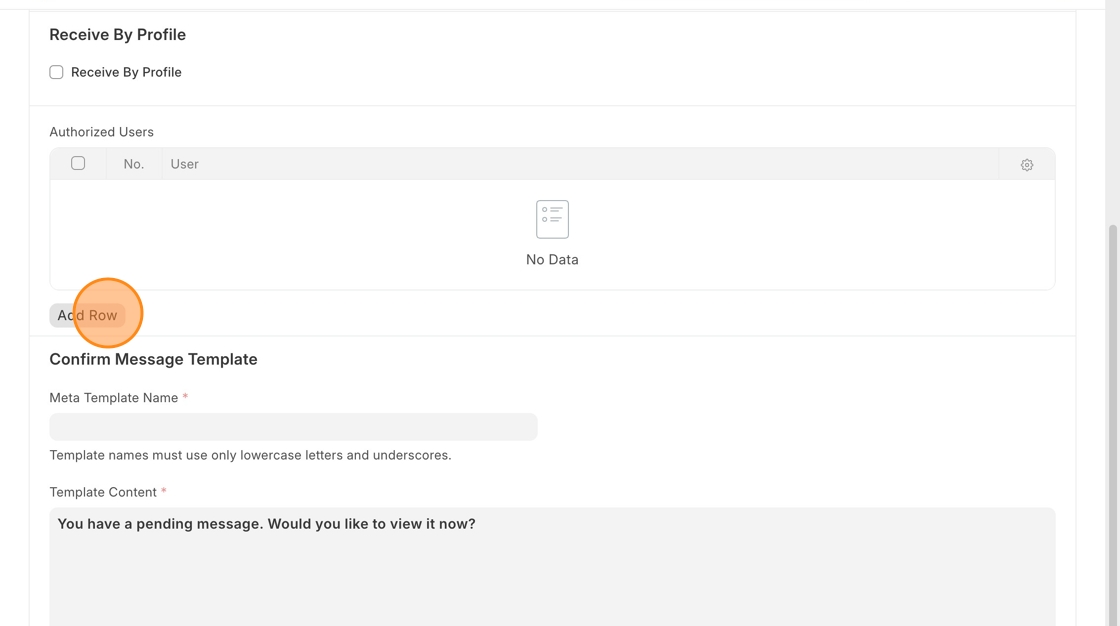
14. If messages should be routed based on a user profile (rather than a role), check the Receive By Profile checkbox. Then, in the "Chat Profiles" table that appears, add the specific chat profiles who should receive messages for this WhatsApp profile.

15. In the Authorized Users table, add the users who are permitted and responsible for responding to WhatsApp messages.
Note: Other users can still receive WhatsApp messages but will not have permission to reply.
ClefinCode WhatsApp Chat app supports the following types of messaging:
-
WhatsApp Message – Communicate directly with a WhatsApp number.
-
Email – Send standard email messages.
-
Internal Chat – Chat with other users within the system.
16.

17. Enter the Meta Template Name for the confirmation message template. This template will be created in WhatsApp Business Platform and it's status will be updated automatically.
Note: Use only lowercase letters and underscores.

18. When finish click the Save button.

Configure ClefinCode Chat Settings
19. Click the search bar to navigate to another DocType.

20. Type ClefinCode Chat Settings into the search bar and select it from the results to access the chat settings.

21. Check the Enable Mobile Notifications checkbox to allow mobile notifications for WhatsApp messages.

22. This is the DocType shortcut table where you can add shortcuts or aliases for DocType names. These shortcuts can be used when mentioning DocTypes in a chat to create a topic as shown in the following example ..

23. Click the DocType Name field to enter a DocType for which you want to create a shortcut.

24. Click Save to save your chat settings and DocType shortcuts.

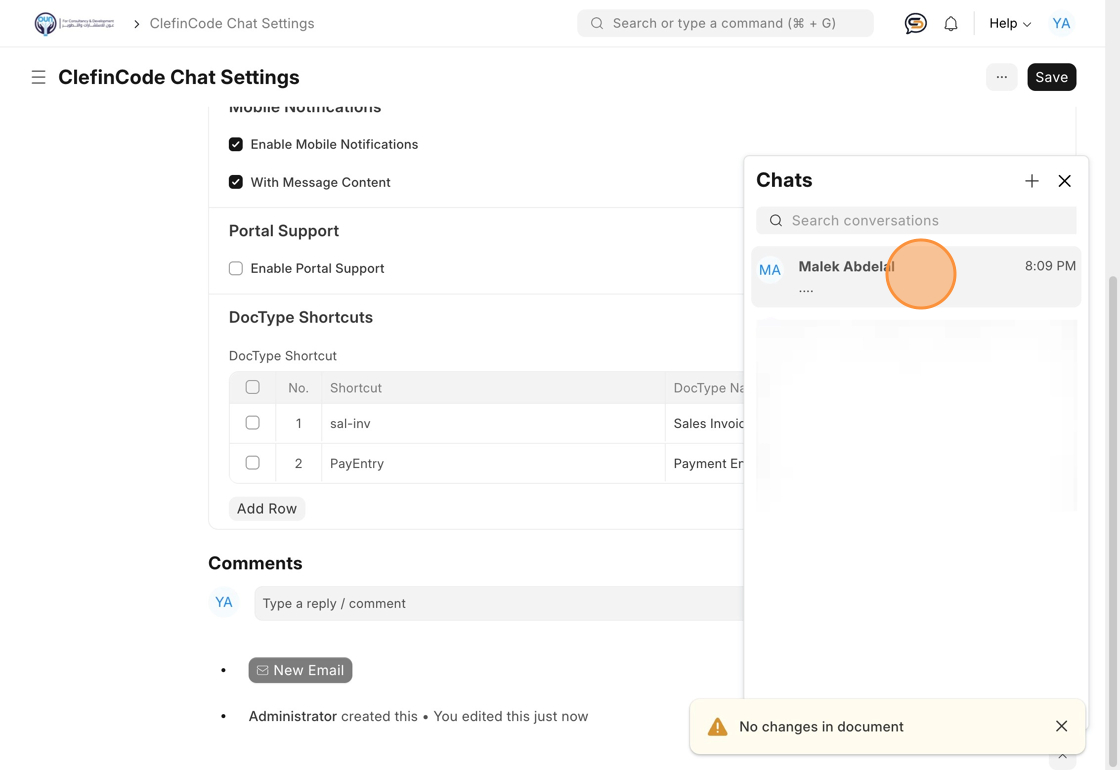
25. Example of using DocType Shortcuts: Click on the chat icon to open the chats interface.

26.
27. Click in the message input field to start typing a message.

28. For the standard mentioning of a DocType, type "@DocType Name:" (ex: @Sales Invoice:) to reference a Sales Invoice DocType in your message. This creates a topic linked to a specific Sales Invoice.

29. Or you can type "@sal-inv:" to use the shortcut you created for the Sales Invoice DocType.

30. Select the specific Sales Invoice document ex: "ACC-SINV-2025-00048" to link in your message.

31. Click the send icon to send your message with the linked Sales Invoice.

32. Here is how the chat looks like after creating the topic

33. Note: If users experience issues with chats rendering in the chats section, ensure that the "Customer" and "Supplier" checkboxes are unchecked in their user profile under the Roles & Permissions tab ..

34.

35. Uncheck the Customer field.

36. Uncheck the Supplier field.
